How to Fix Runny Pudding: A Quick Troubleshooting Guide
October 13, 2026 - Puddings

October 13, 2026 - Puddings
October 11, 2026 - Baking

October 09, 2026 - Seasonal

October 05, 2026 - Desserts
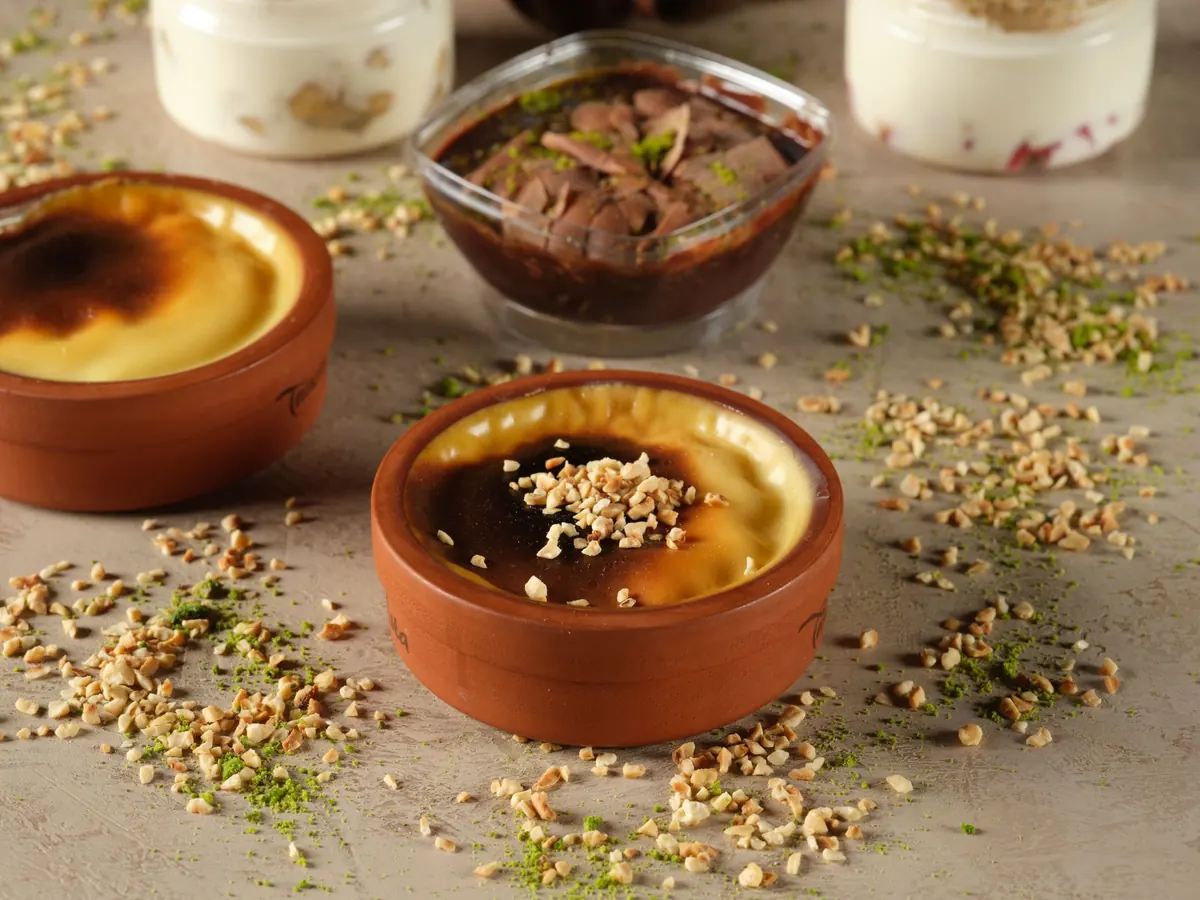
Chocolate pudding is one of those desserts that looks like a shortcut and tastes like a project. The boxed kind sets firm and tastes mostly of sugar. Made on the stove with real chocolate, egg yolks, and a careful hand with cornstarch, it turns glossy and dense — spoonable, never stiff. The whole thing takes about twenty minutes of actual work, and most of that is stirring. Here is how to get it right the first time.
Cornstarch and egg yolks both thicken, but they behave differently, and that difference is why this pudding feels silky instead of pasty. Cornstarch gelatinizes when it boils — it needs a full minute or two of lazy bubbling to reach full power, and once the pudding cools, cornstarch sets it into a soft gel. Skip that cooking time and you get a raw, chalky taste and a pudding that never quite firms.
Egg yolks add richness and body without the starchy edge that too much cornstarch brings. Use one thickener without the other and you get a decent pudding. Use both, in the right proportion, and you get the texture people mean when they say silky.
Chocolate thickens as it cools, too, because cocoa butter is solid at room temperature. A pudding that looks loose and pourable off the heat will firm up considerably in the fridge. Don't panic and add extra cornstarch at that stage, or you will end up with something closer to chocolate glue.
You will also want a heavy-bottomed saucepan, a whisk, a heatproof bowl, a fine-mesh strainer, and either six small ramekins or one shallow two-quart dish. The strainer is not optional if you want a flawless texture — more on that below.
Almost always starch that clumped before the milk went in, or pudding that sat unstirred against a hot pan. The strainer fixes the first problem completely. If the pudding is genuinely lumpy, you can also run it through a blender while it's still hot, but be careful — hot pudding in a blender lid can blow.
The yolks cooked before they were diluted. It happens when the heat is too high or when the hot milk goes into the yolks too fast. Strain it; you will lose a little volume but most of the texture. Next time, keep the heat at medium-low and drizzle slowly.
This means the starch never fully gelatinized. You can return the pudding to a saucepan with a splash of milk and bring it back to a gentle boil for two minutes, but honestly, it is easier to start over. Consider it a lesson about patience at the stove.
Skin forms where the surface meets air. Plastic wrap pressed directly onto the warm pudding prevents it entirely. If you would rather not use plastic, a light dusting of cocoa powder or a buttered round of parchment laid on the surface works too.
Cold pudding is the point here, so give it the full four hours, and longer if you can. Serve it plain, or with a dollop of lightly sweetened whipped cream, a pinch of flaky salt, shaved chocolate, or cocoa nibs for crunch. A few raspberries cut the richness nicely.
The base recipe takes well to changes. Add a teaspoon of instant espresso powder with the dry ingredients for a mocha edge. Steep a strip of orange zest in the milk for ten minutes, then strain it out before proceeding. A cinnamon stick works the same way. If you prefer milk chocolate, use it and cut the sugar by a couple of tablespoons, since milk chocolate brings its own sweetness.
This pudding is better on day two, once the flavors settle and the set fully develops. It keeps, covered, for three days in the refrigerator. If you want to turn it into frozen pudding pops, pour it into molds while it is still warm and slightly loose, then freeze — the texture stays creamy rather than icy. Make a batch on a Sunday and you have dessert handled for most of the week.
Photo: Orhan Pergel / Pexels
Runny pudding is usually fixable. Here's how to diagnose the problem, cook it thicker, add the right thickener, and...
Stovetop stirring gives you silky, spoonable pudding; a baked water bath gives you a clean, sliceable set. Here's...
October 13, 2026 - Puddings
October 11, 2026 - Baking
October 09, 2026 - Seasonal
Copyright © 2026 Modern Pudding. All Right Reserved.